A sunrise shooting comes with special challenges. You have to start your shooting quite often in total darkness. So preparation is very important. In this tutorial, I will explain some basics of what to do upfront and give some tips and tricks for the post-processing:

PICTURE EDIT

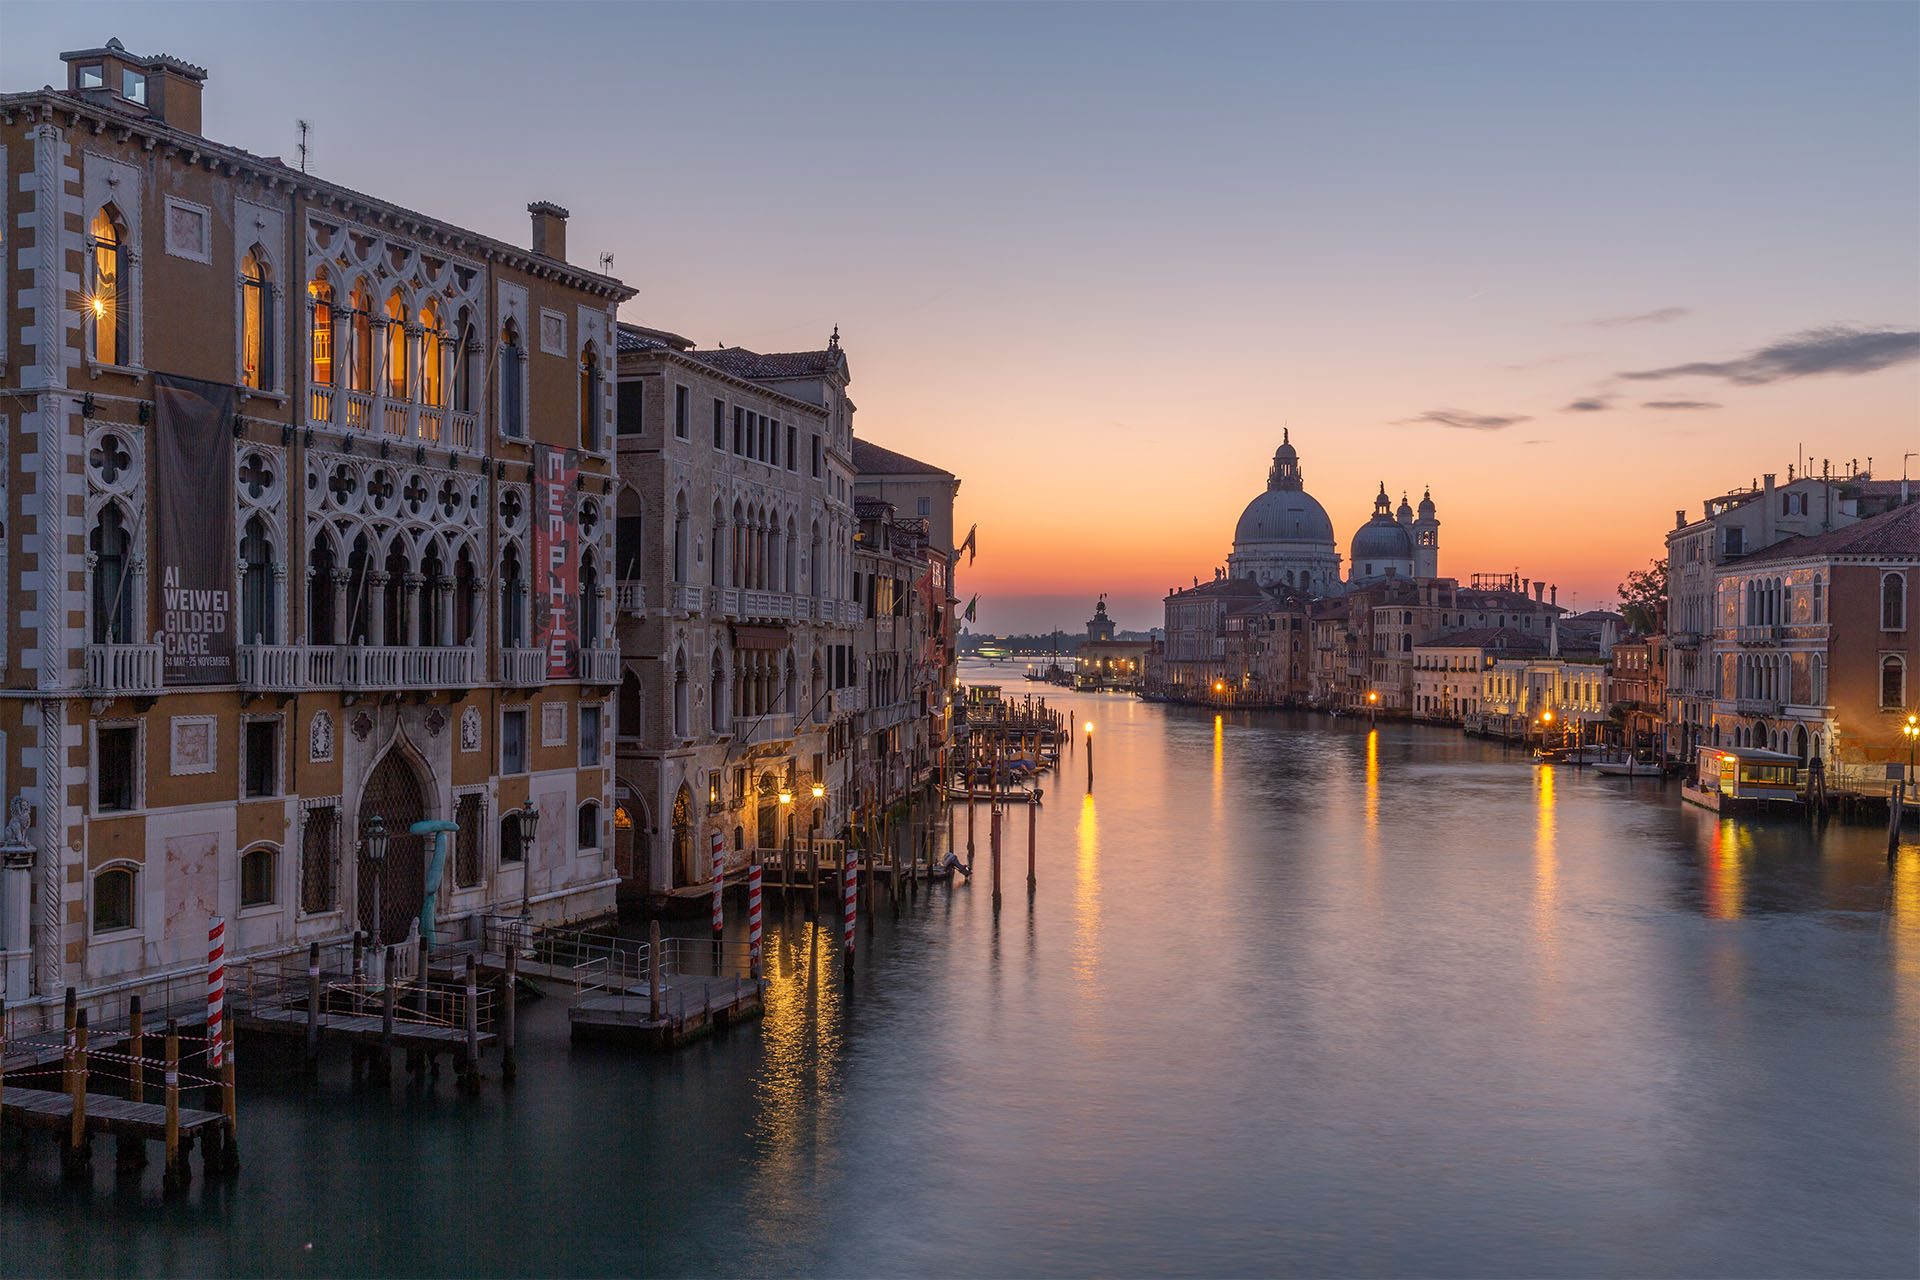
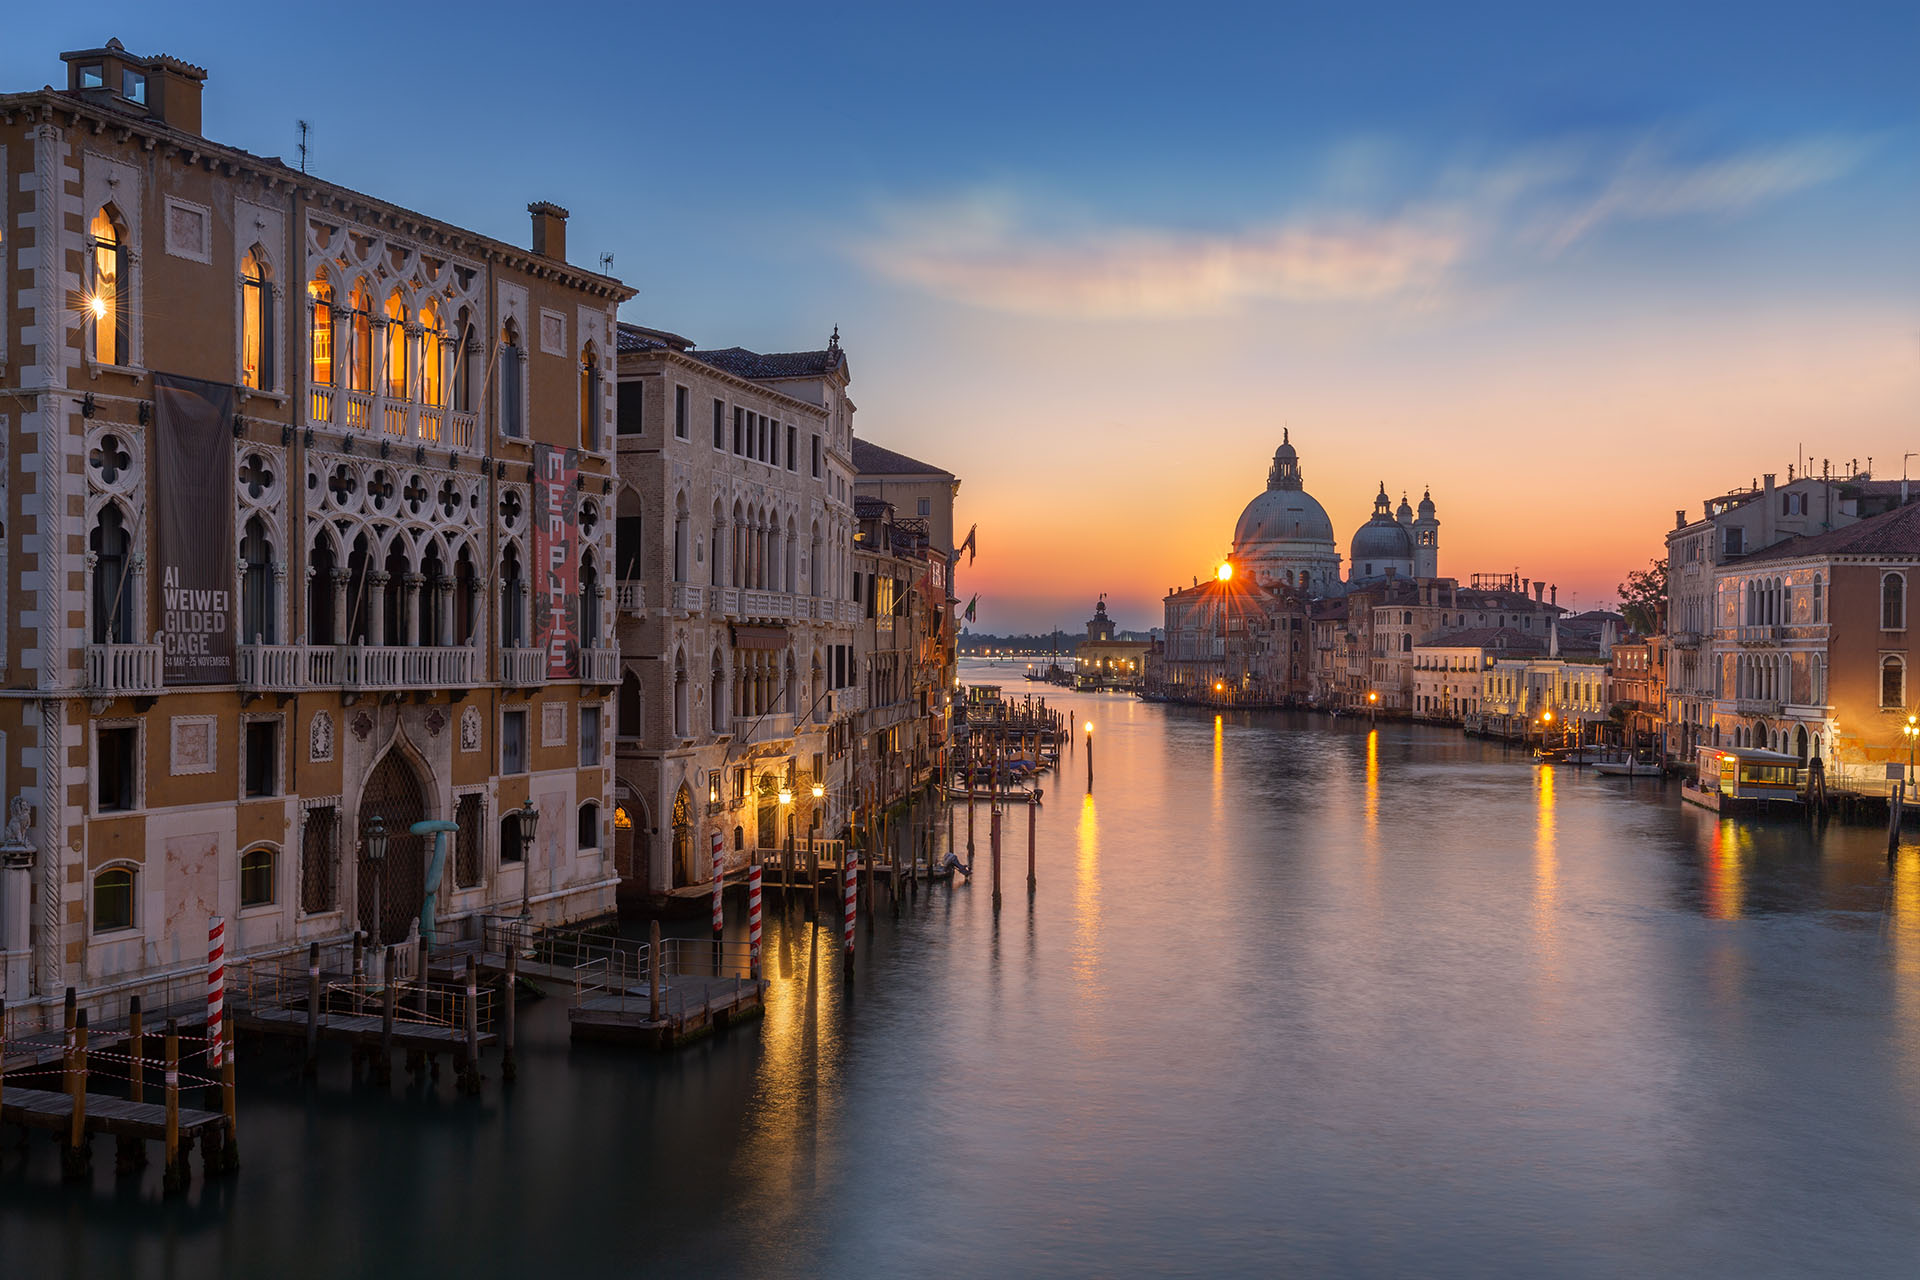
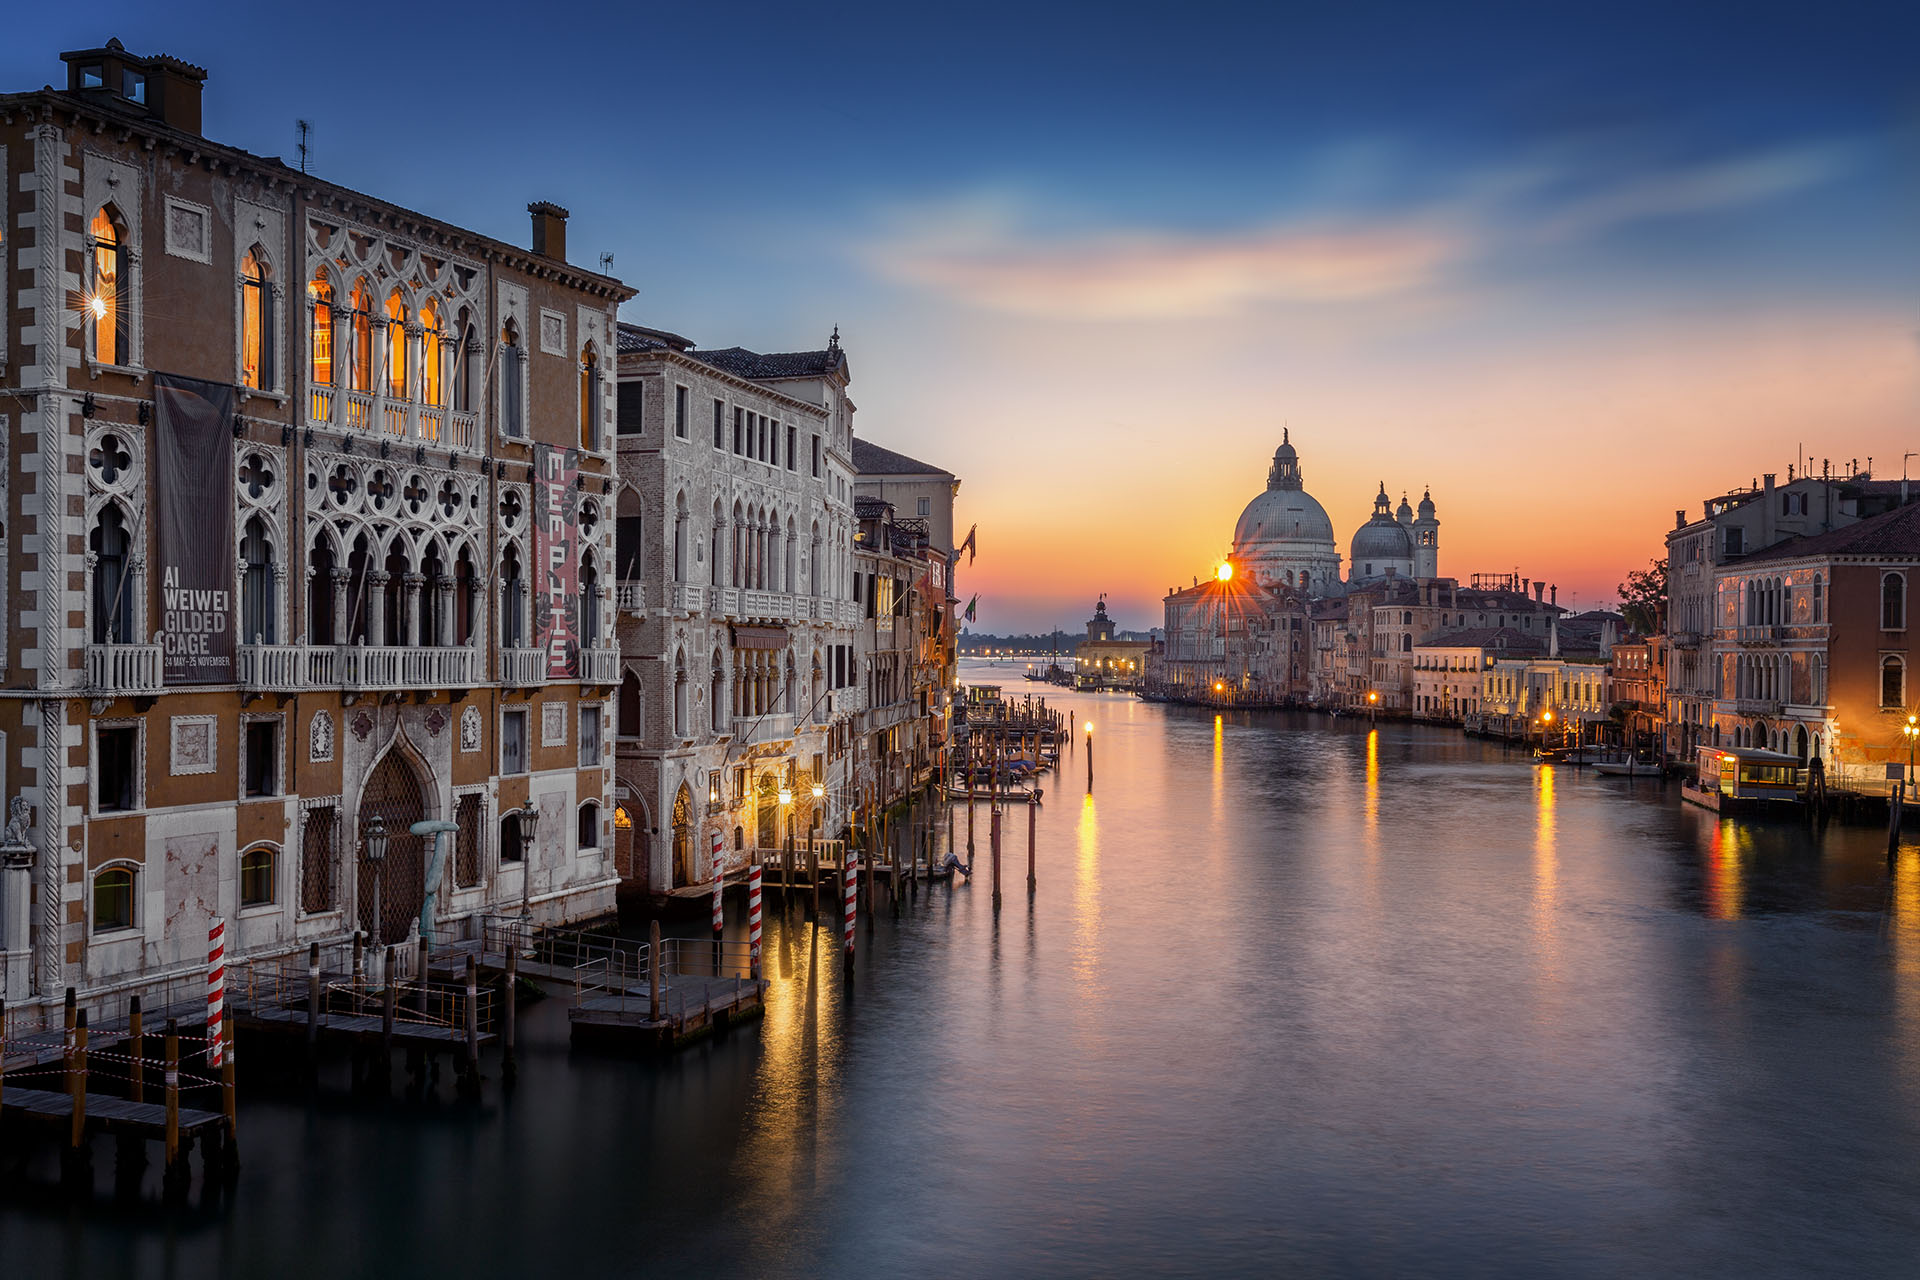
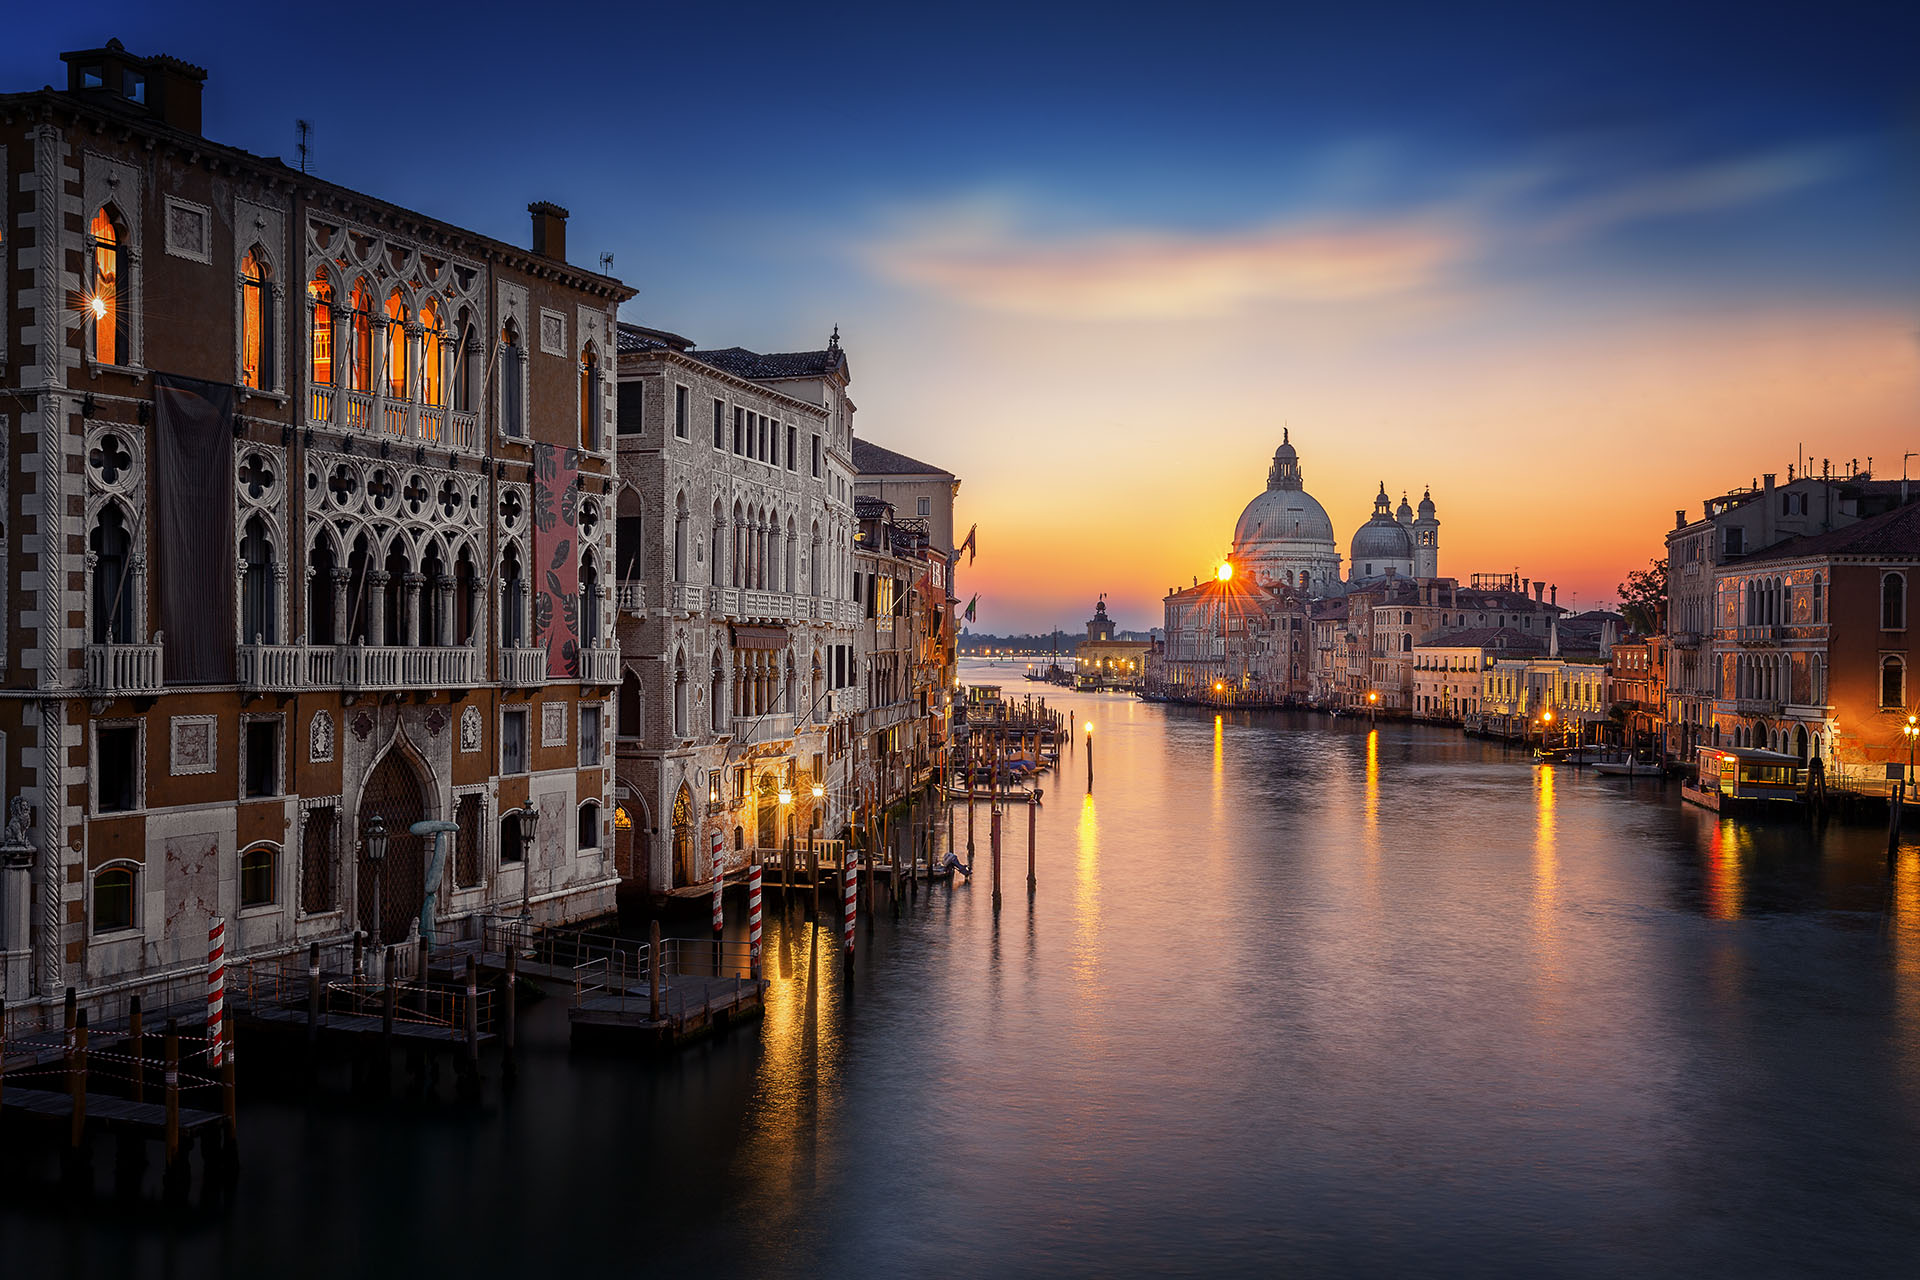
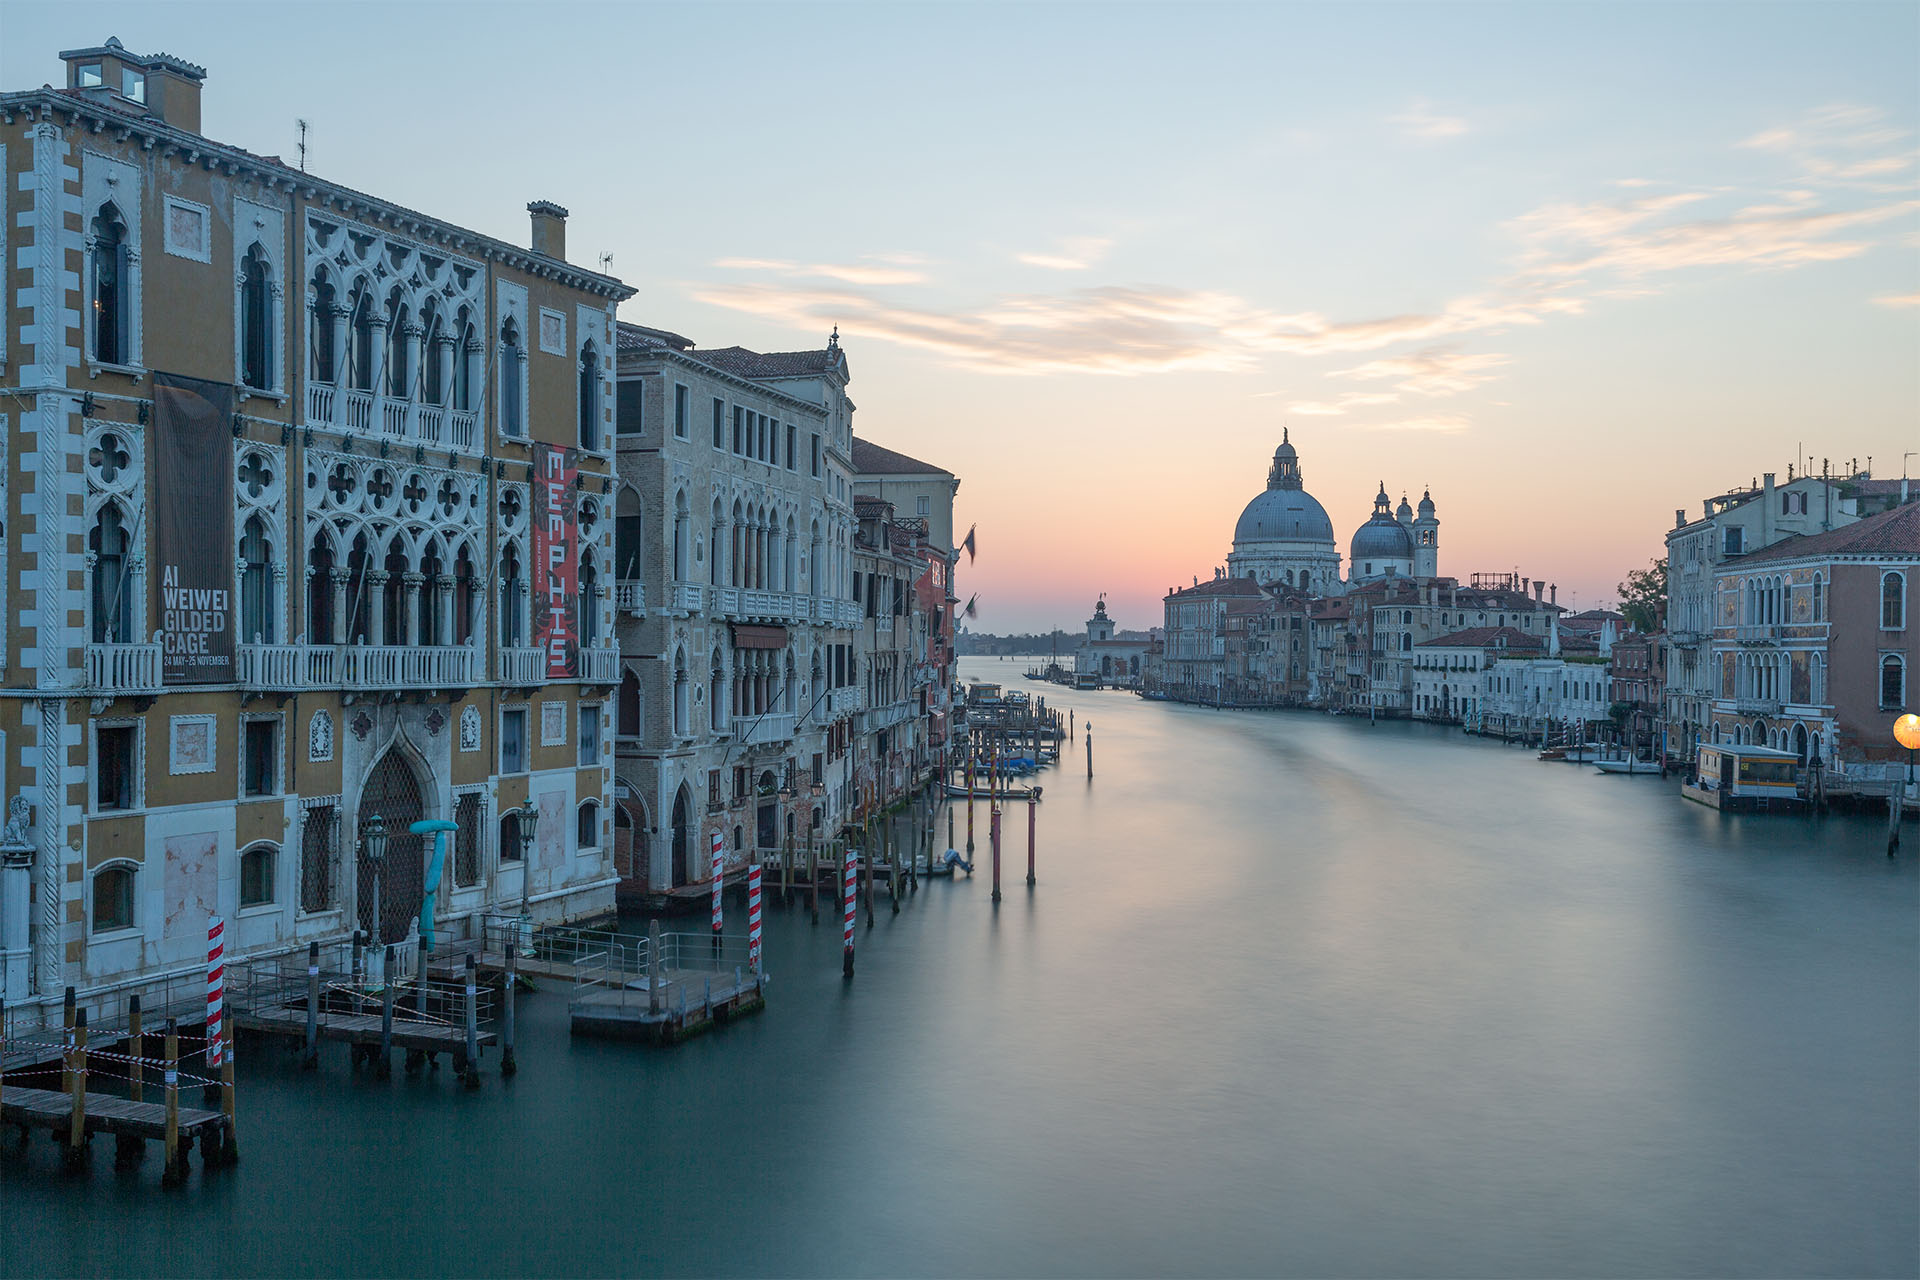
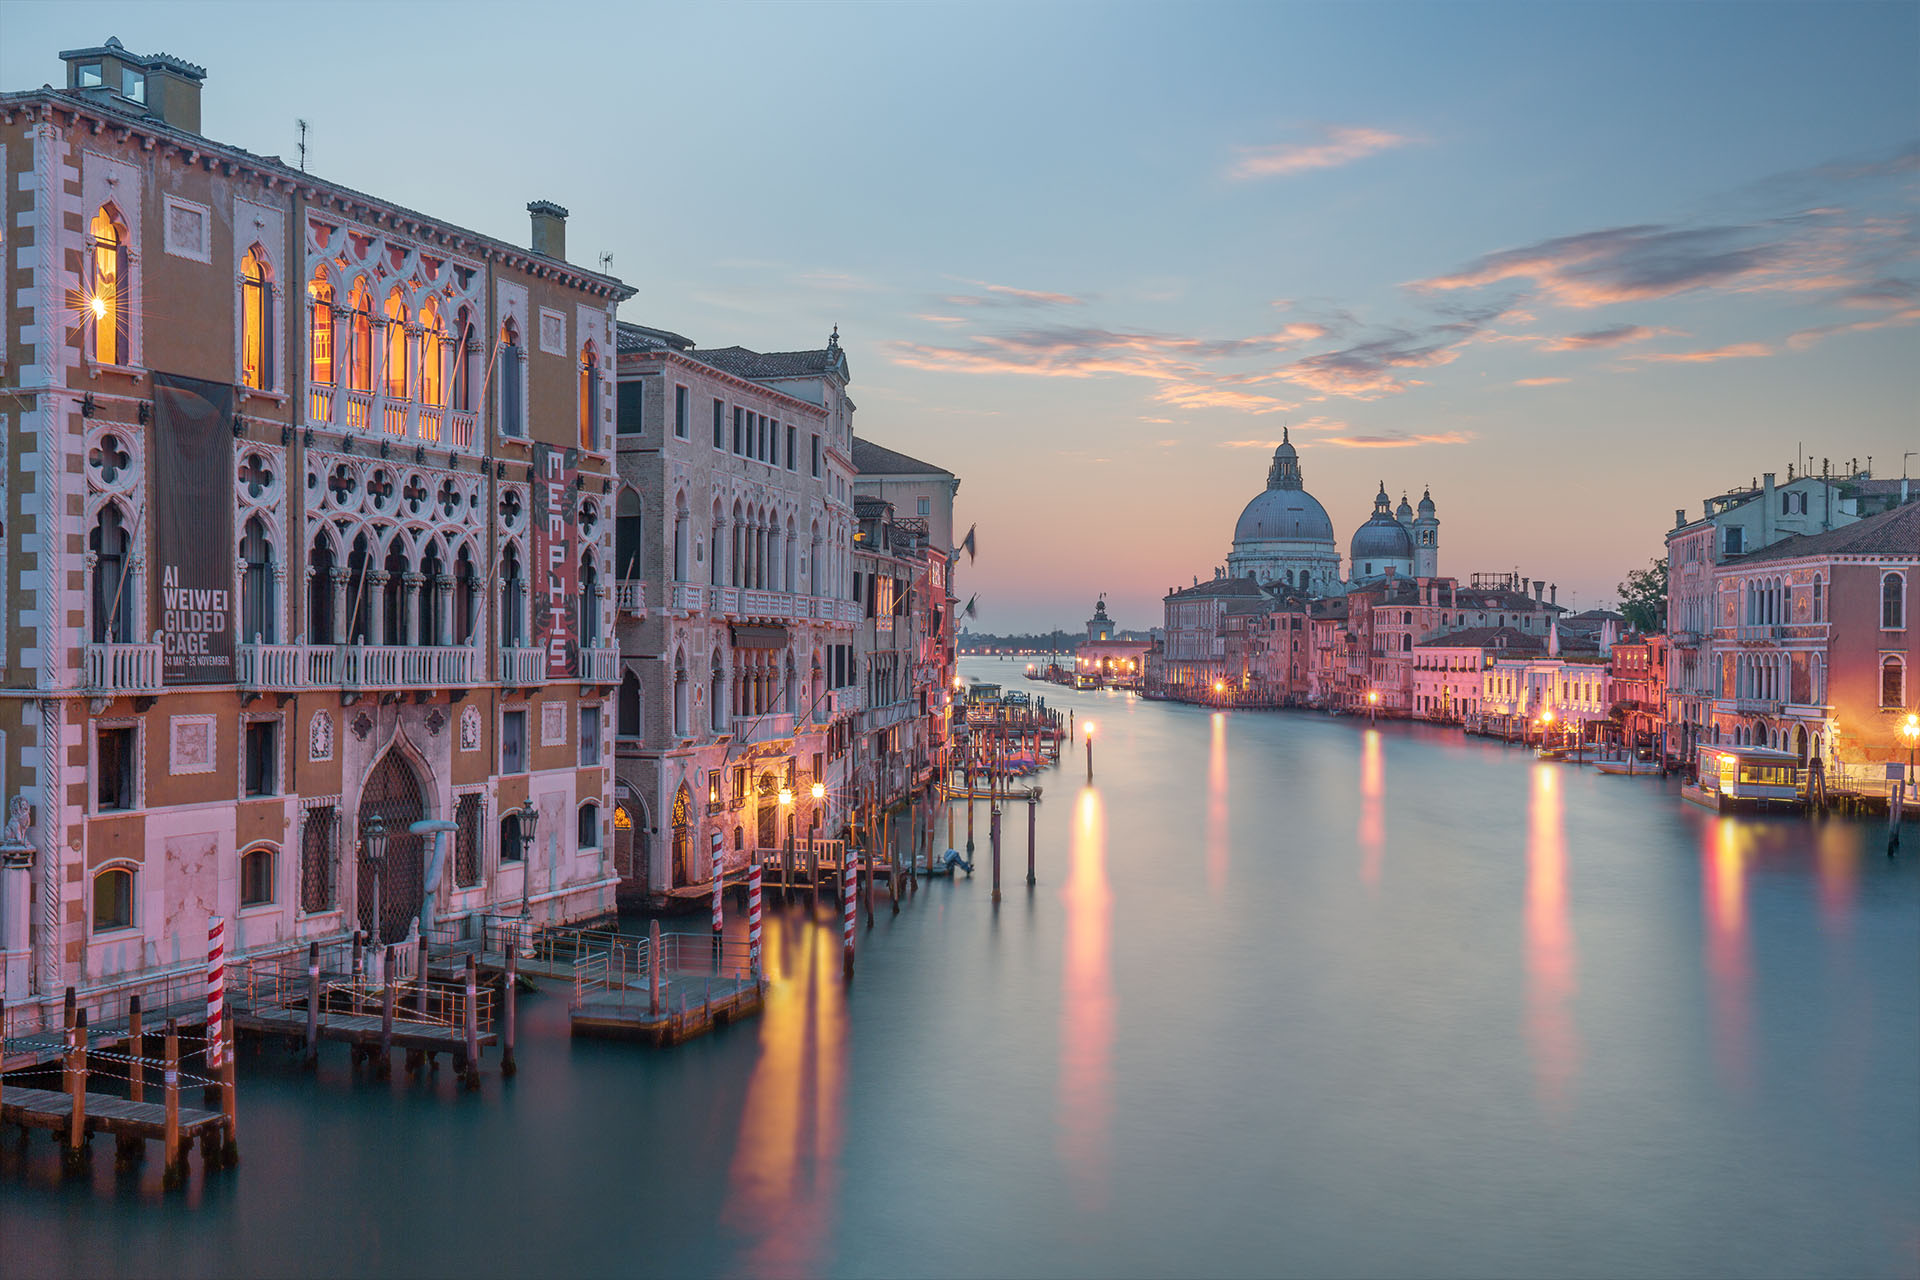
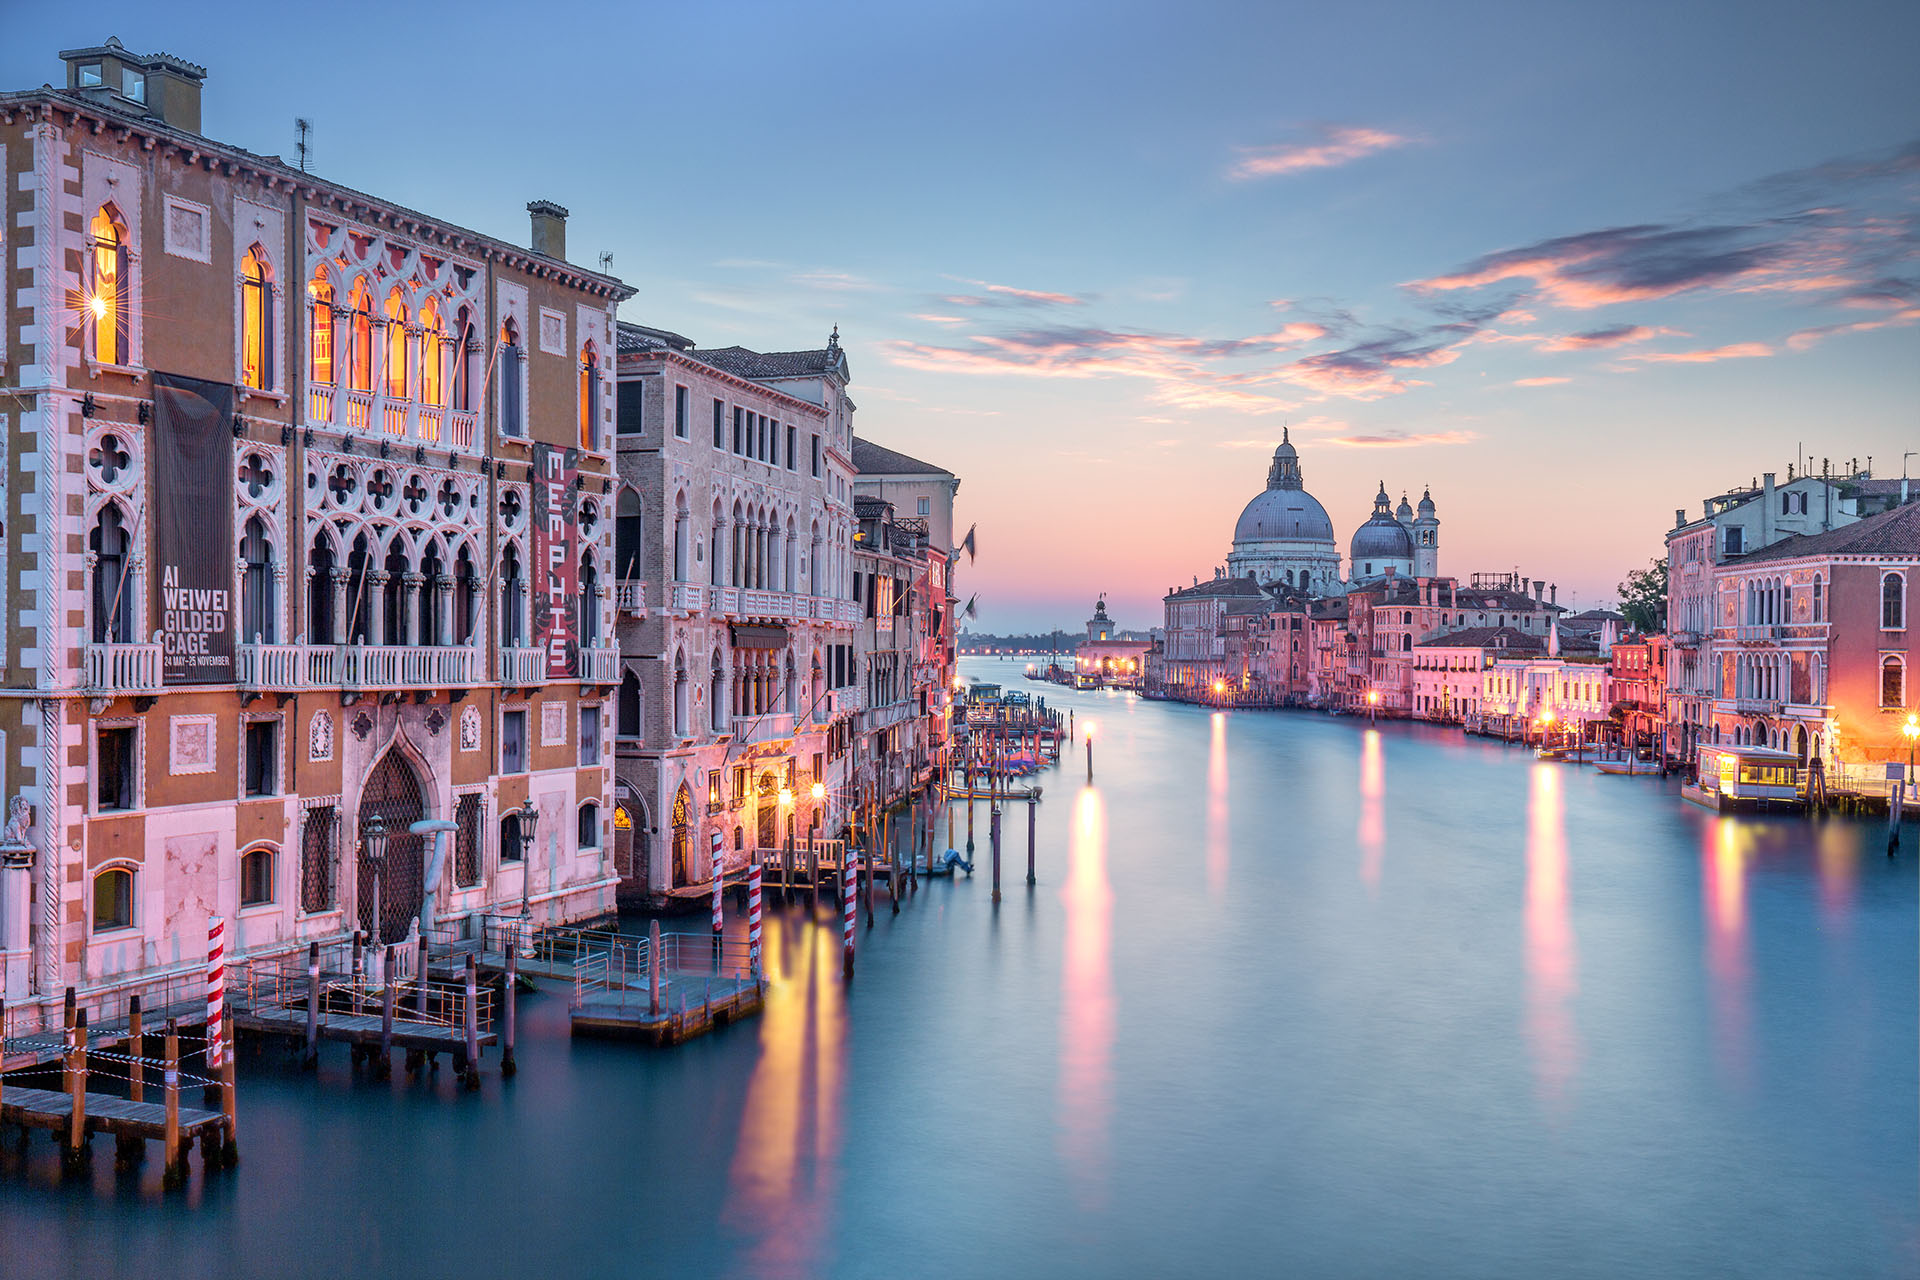
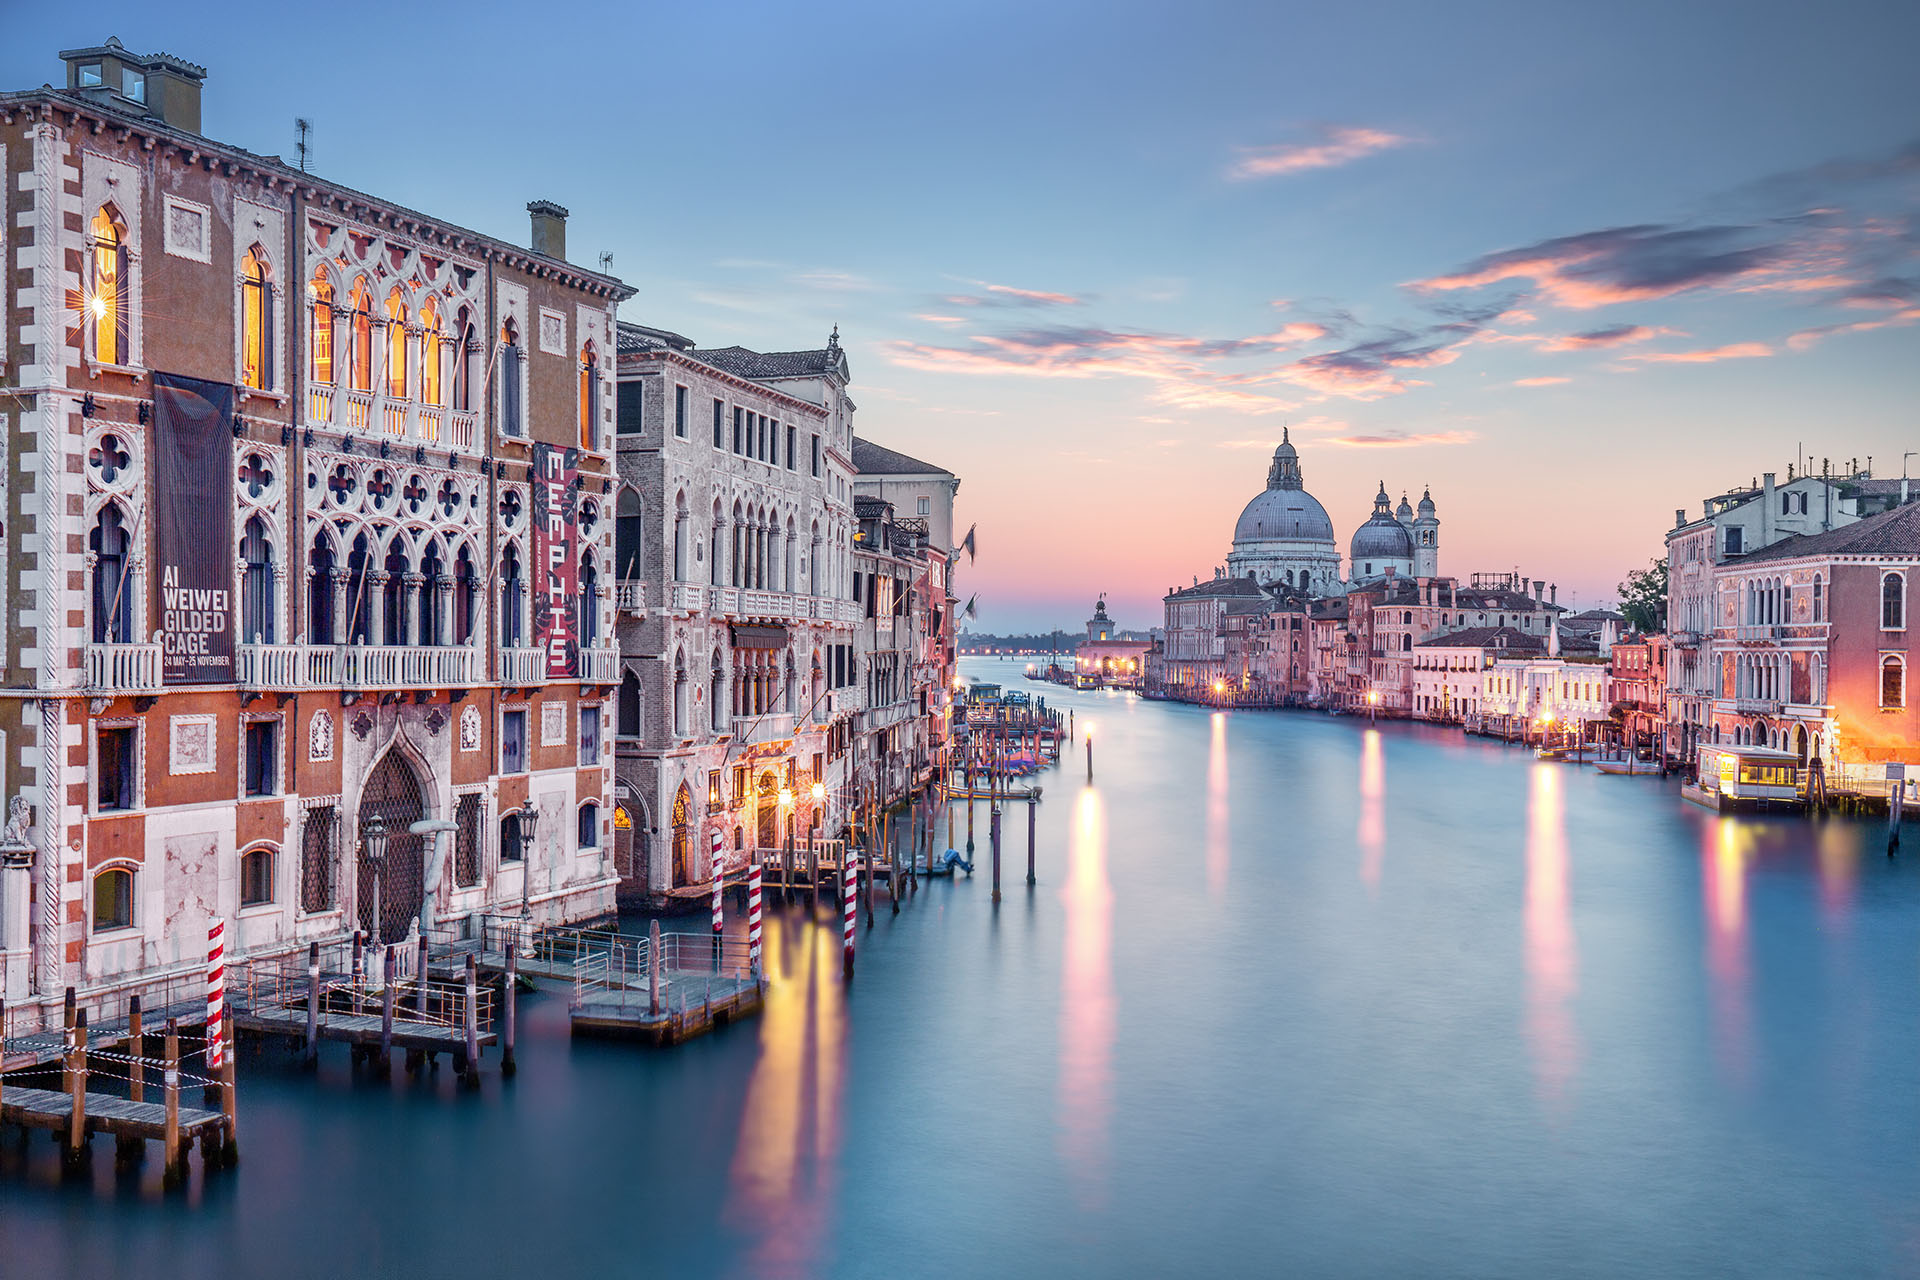
This Picture was a bit more work. To demonstrate this, I decided to show you four frames: baseline frame, finished blend, color & contrast correction, and the final picture. As this photo is a sunrise with illuminated houses, the shooting works vice versa to a city sunset. The first shots are important for the window lights and the light reflections in the water, followed by the colorful sky and finally the details of the buildings. Due to the boat traffic on the canal, I blended overall 8 different pictures together. As a baseline, I used the picture of the final sky to get the reflection in the water as realistic as possible. The illumination and the lighter details of the buildings are relatively easy to overlay by the "lighter" blend mode. Increasing contrast and adding color dynamic was the next step. Finally, I reduced the proportion of pink/purple at the house surfaces. This increases again the contrast and gives the picture a bit more a high dynamic range but also a more realistic look.

ALTERNATIVE EDIT

How much of a difference editing has, I want to illustrate with this second version of my Venice shooting. Keep in mind, the RAW files for both versions are shot during the same shooting. So the exact same location, perspective, and during the same period. The first edit above is very much focusing on the pink hour. This comes with the beautiful soft colors in the sky and at the house walls. The main subject of the picture should be the Santa Maria della Salute church. In this first edit, the house on the left is at least similar prominent. So my goal for the second edit was to create something focusing more on the church.

Getting a viewer's attention is quite often realized by light. At that location, this is easy as the sun is rising straight behind the church. As a baseline picture I used chose a picture just some minutes before the sun was rising over the horizon. At that time, the colors in the sky are very intense but already very warm. The sun is then included during the blending of different images. I still liked the light in the windows to I added these too. Afterward, I did the usual contrast, color correction, and sharpening. The last Step was darkening a bit the edges of the picture to put even more focus at the center and therefore at the church. I have to say, I like my first edit a tiny bit more, but the second one is still not bad...

Location

The location of the shot is a wooden bridge, called Ponte dell'Accademia, in Venice, Italy. I always recommend scouting the location beforehand if you are aiming for a sunrise. It is nearly impossible to find a good perspective in the dark. Be 30-40min before sunrise at your spot to have enough time to set up your gear and check your settings!!! There is nothing more annoying as realizing a simple but serious mistake when everything is over, especially if you start a day so early ;). As you are looking in the east direction it is perfect for a sunrise shot. If you want to plan your shot super detailed, you can use an APP to predict the exact spot where the sun will rise at the morning and decide whether you want to have it in your frame or, as I decided, to have it covered by the Santa Maria della Salute church. I was at a spot on the right side of the bridge but I saw also beautiful shots from the middle or from the left side. It's really up to your taste, time of year, and the weather conditions. I mentioned that the bridge is made out of wood. Even if the bridge is quite huge, you and so your tripod will be affected by the vibrations of other people crossing the bridge. I would recommend getting 2 legs on the parapet and just one leg on the stairs. Therefore you minimize the chance that the person crossing is using the same beam as your tripod. Little details can make a difference.

Camera Settings

Canon EOS 5D Mark III, EF 24-70mm ƒ/2.8L II @27mm, ƒ/11, 8 frames 1s-60s, ISO 100, on tripod, triggered by remote control, one frame with Lee ND Big Stopper


Instagram

To stay up to date, follow me on insta: